Creating a Static Site in GitHub Pages S24
Guidelines for the Lab:
Today in lab one of the things we will be doing is to create your own site at GitHub Pages in which you post all of your coursework, including writing and visuals. Creating such a site will require us to set up GitHub, GitHub Desktop and a text editor, to learn and practice some Markdown and to get comfortable with editing on our own machine and then push slowly our materials to the web.
Knowing how to create such a “static site” is an important skill in minimal and sustainable digital arts and humanities.
This course site is created in GitHub Pages by forking the Minimal Mistakes theme. When you gain more confidence you will be able to change to other themes and customize to your own liking.
STEP 1:
- Make sure you have a Github account in which there is not already a repository {yourusername}.github.io. If you have this one set up already, you have a few options:
- you can delete the repository if you do not want it anymore
- you can rename the repository, e.g. if the repo were named daahnyuad.github.io you could rename it daahnyuad1.github.io and proceed with this tutorial.
- you can create a new Github account for the purposes of this course.

NB: Your account and your page does not need to reveal your identity in any way. Feel free to consider this account a “burner” account for the purposes of this semester. Once you have received your grade at the end of the semester, feel free to delete it or to repurpose the Markdown files for another site.
At some point in the near future, Github will require you to have multifactor authentication (2FA). We will not cover that here, but you can refer to the docs about it.
-
Make sure you have downloaded a text editor of your choice for your system. This lab write up will explain with Sublime Text for simplicity sake. Others are possible, such as Visual Studio Code or RStudio Desktop, but they are not explained here.
-
Make sure you have downloaded Github Desktop for your system.
STEP 2 “Forking” a repo. Detailed instructions for this can be found here
- Once you have made sure that you do not have the repo named {yourusername}.github.io, you can proceed with “forking” (making a duplicate of the contents of another repo). We do this by navigating to the main page of an existing GitHub page.
For example, there is the very popular site for minimal-mistakes: https://github.com/mmistakes/mm-github-pages-starter
With your GitHub account open, navigate to this link above, look above the file list to the right, and click Use This Template (If you do not see it, you may have to go to Settings to click it on). Select create a new repository. This will take what is at minimal mistakes and transfer it over into your account.
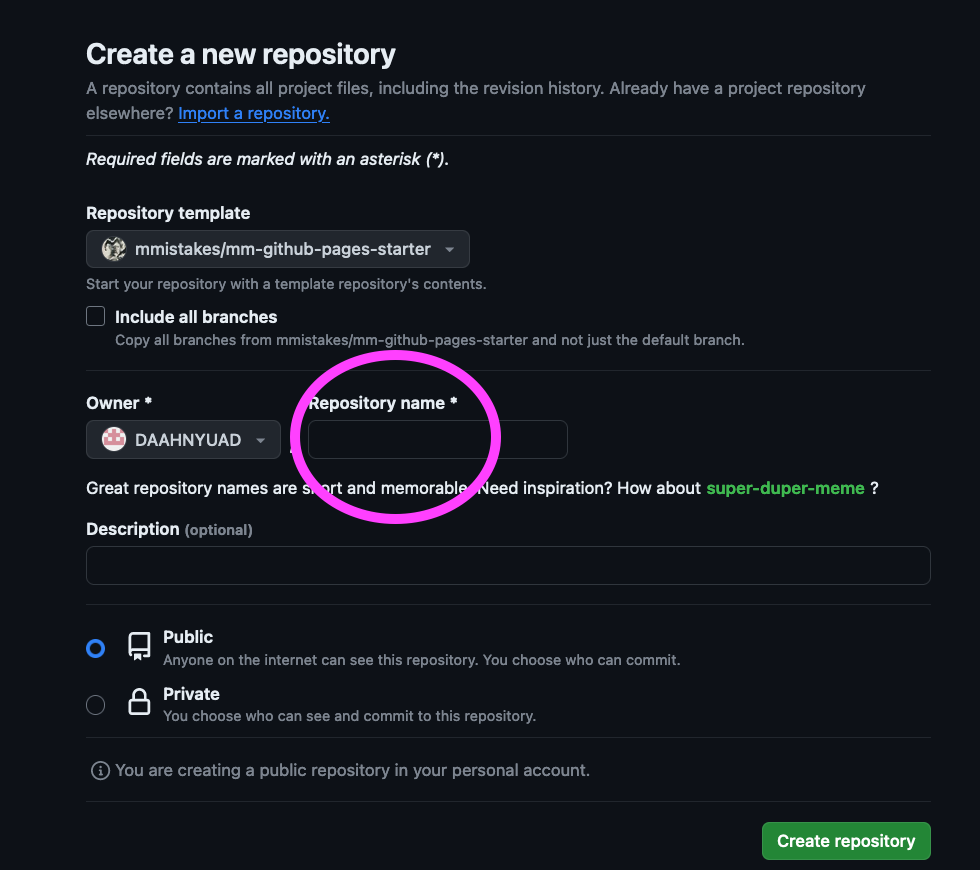
On the page create a new repository you need to give the repository a name. Type exactly {yourusername}.github.io where {yourusername} is your GitHub user name. If you choose another word, it will not work. Make sure you set the repository to public and then click on the green button create repository

The detailed instructions linked above gives you another template and point you to many more to choose from. Note that the repo we have forked is a simplified version of Minimal Mistakes. If you want to tap into the full version, you will have to download the full theme and do more work!
You can use this starter website (and customize it, if you like) for your work in IM-UH 1511.
- Cloning this repository to your machine with Github Desktop
Open GitHub Desktop and log into it with your credentials from your GitHub account. Setting > Accounts.
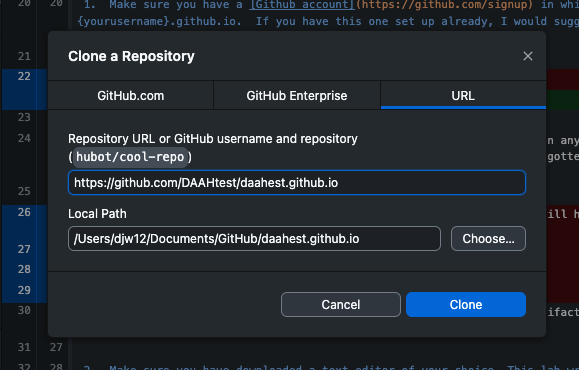
Then, copy the URL of your repository where you forked the minimal-mistakes template, navigate to file > clone repository.
Selecting the URL tab, paste that URL into the repository URL blank and click clone.

When done, you should be able to see it in the current repository tab at left in Github Desktop.
- Editing the repository on your own machine.
Now that you have a copy of the repository on your laptop you can edit it there (even offline and with no internet connection) and then later “push” the changes to the web.
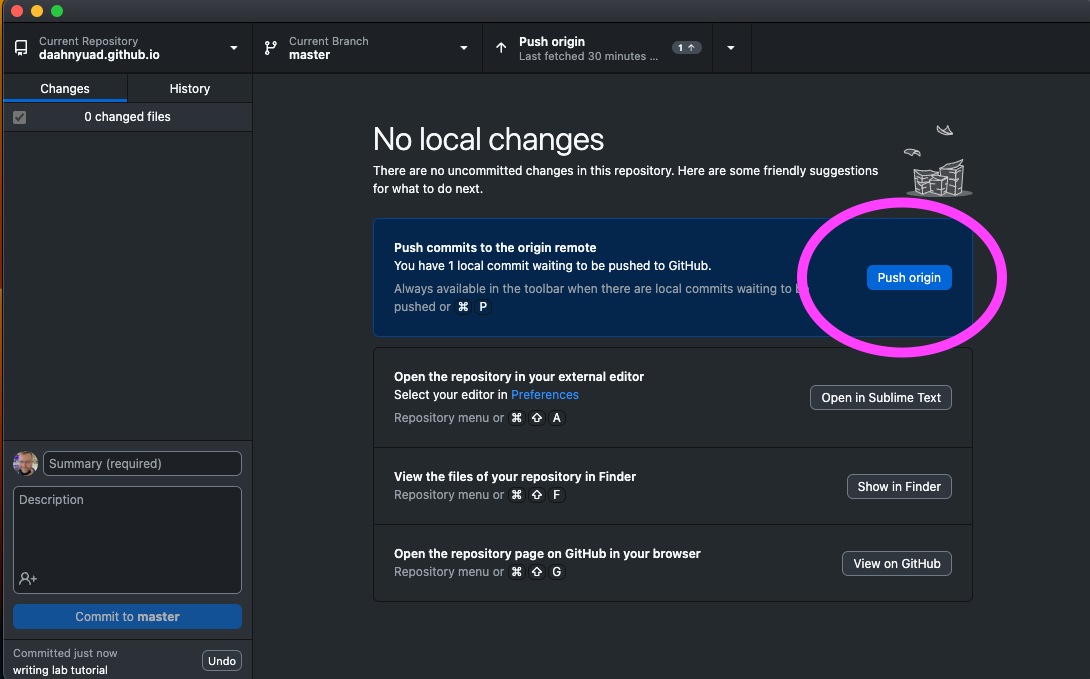
When you edit and save (and sometime enter a commit message), you will see a blue button to transfer these changes to the web.

NB: You can do some editing in the GitHub web interface itself, but I recommend editing in Github Desktop, and not to mix the two, since you end up with a versioning nightmare.
Let’s make some changes in Sublime Text and push them.

From GitHub Desktop you can set the text editor you want to work in.
Remember that every time you push to the web, the compiler works to make your page’s updates. Be patient and look for the green arrow which indicates that your site has been rebuilt with the changes you made.
You can play around with making subtle changes to your site, but be careful not to change too much of the basic architecture of the templates.
A Markdown cheatsheet can be found here.
Enjoy!